
I already prepared & assembled the sump kit here: Raceline sump preparation
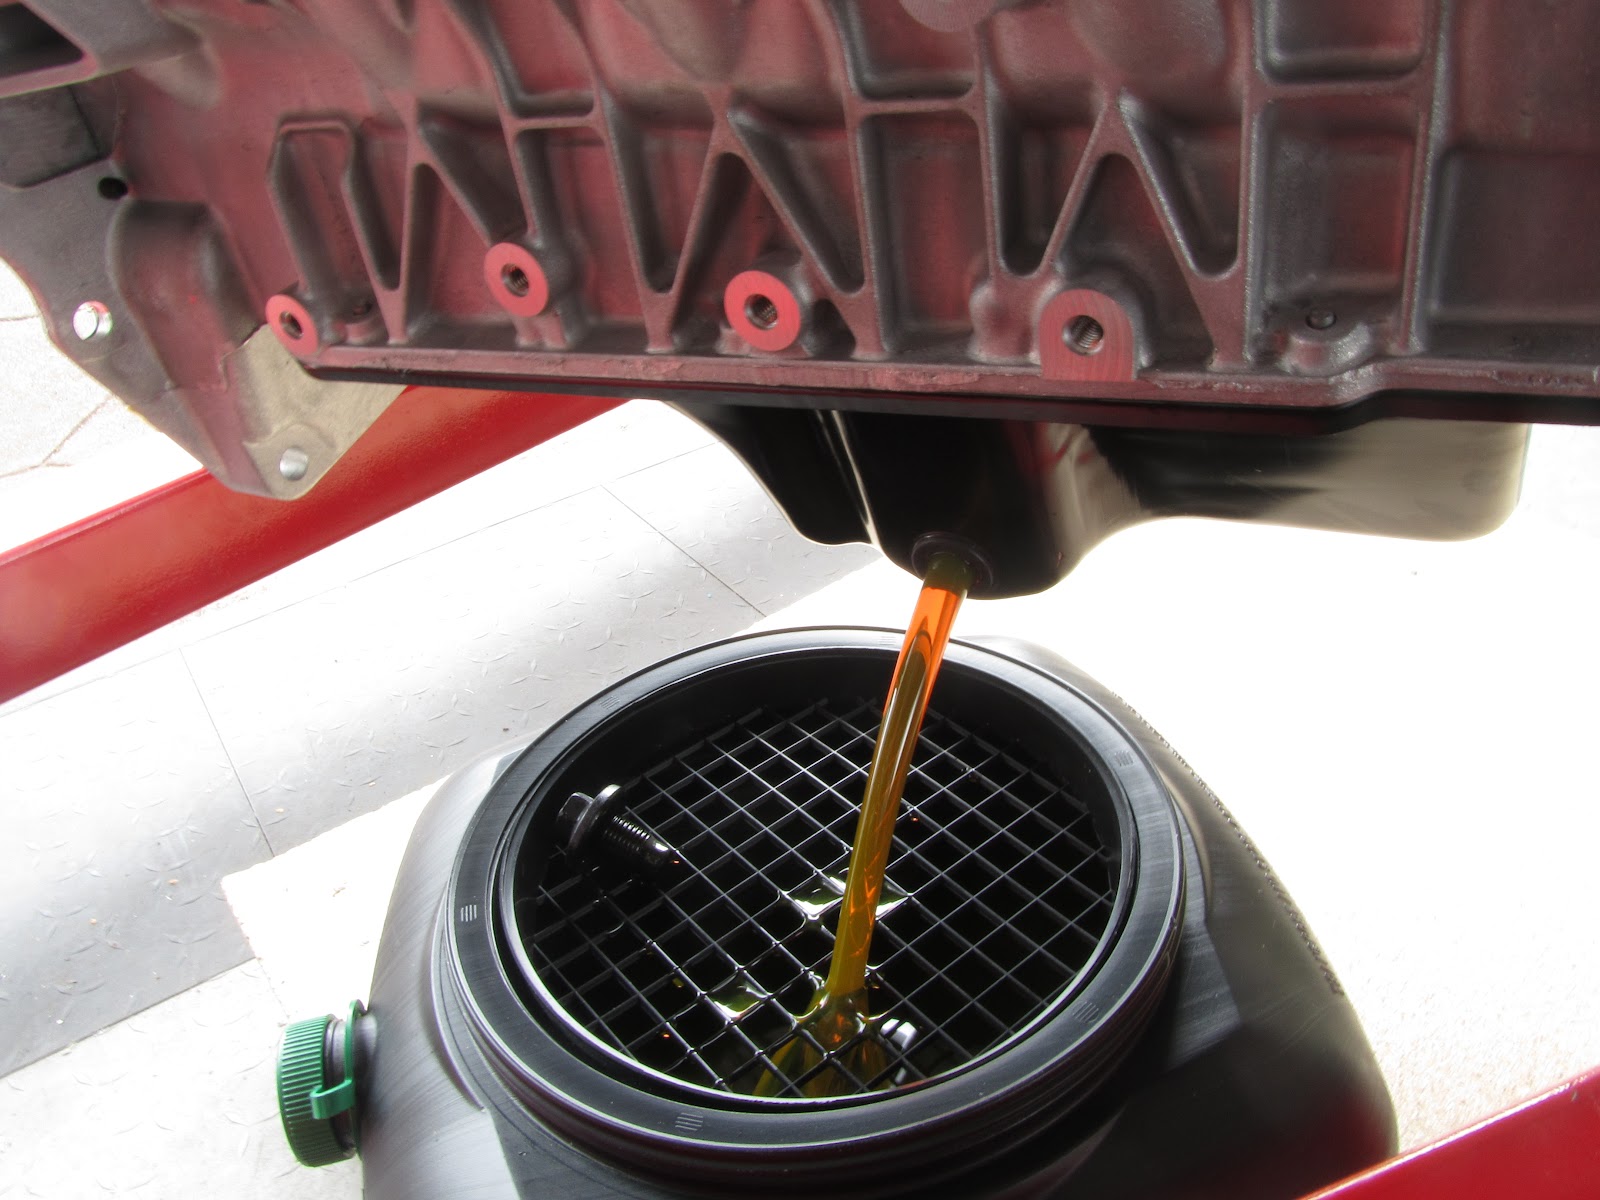
The engine is new and has the original unused oil which needs draining: I may well put this back in later and use for running in Actually ended up changing the oil for 100% fresh:

18 bolts to remove the lower pressed steel sump, it took a little levering off to break the seal & its very easy to miss a bolt!

This reveals the pickup pipe which is removed, 1x bolt & 2x torx bolts:


Removing the pickup pipe allows unbolting the main sump, I re-used the engine tray so it didn't drop to far:

Then install the new Raceline sump. Before offering the new sump up I made sure the old sealant was completely removed - there is a blob in each corner on the block where the end plates are bolted on.
A bead of loctite 5922 gasket material outside the rubber seal, especially at the corners to ensure a good seal then lowered the block carefully onto the sump, checked the flywheel end of the block was lined up and gradually tightened all the bolts. Centre first working towards ends tightening a little at a time:

All the bolts are eventually torqued up to 18 lb/ft as per Raceline instructions. Its really difficult to get a torque wrench in, but feels like the larger risk is over torquing and stripping threads than under torquing. I had lowered the engine onto my toolbox just enough to stop it spinning around as everything was tightened:

My heath robinson gripper to remove the large oil filter made from the lifting strap & mole grips. I didn't quite resort to the screwdriver through the case technique, but did manage to dent the old filter in the process. This is replaced with a shorter profile filter (no picture)

Back down on the deck to let the gasket sealant cure a little overnight then I'll put the (Fresh New) oil back in:

The install went exactly as described in the Raceline instructions, the only hairy part is having the engine dangling on the end of the engine hoist; and the acid test yet to come when the liquids go back in & I find out if I have any leaks.
The engine has to wait now for a replacement clutch release bearing from GBS. Then I can attach the gearbox and think about installing it in the chassis.
Breakage
My engine dollie which I managed to kneel on and snap the chipboard - I might rebuild it.
The oil pan I bought, leaked from the smaller cap - I tightened it to stop the leak - and it split the cap completely. Pah - hate plastic!
The oil pan I bought, leaked from the smaller cap - I tightened it to stop the leak - and it split the cap completely. Pah - hate plastic!